No matter where you live, you will find housewrap being used on construction sites. It’s one of the most widely applied water and air barriers in modern home building. Unfortunately, house wrap is often installed poorly — blowing in the wind, loose seams, ripped or torn sections, laid edge-to-edge, and even left with large gaps. All of which prevents housewrap from doing it’s job, even after it’s been covered with cladding or stucco.
To get it done right and have house wrap do its intended job, Building Envelope Specialist Bill Robinson shares the three steps necessary for proper installation.
Step 1: Start With a Clean Surface
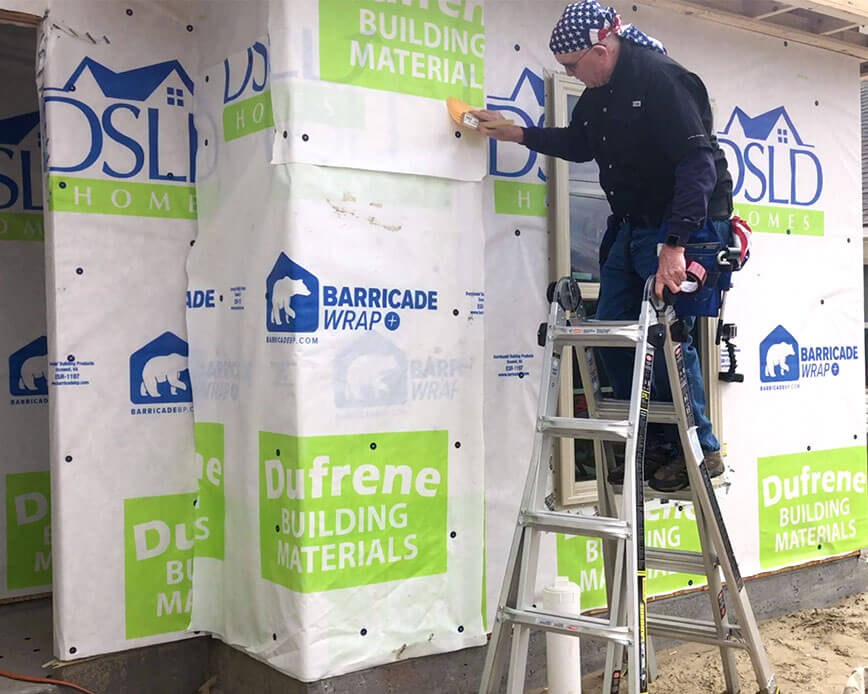
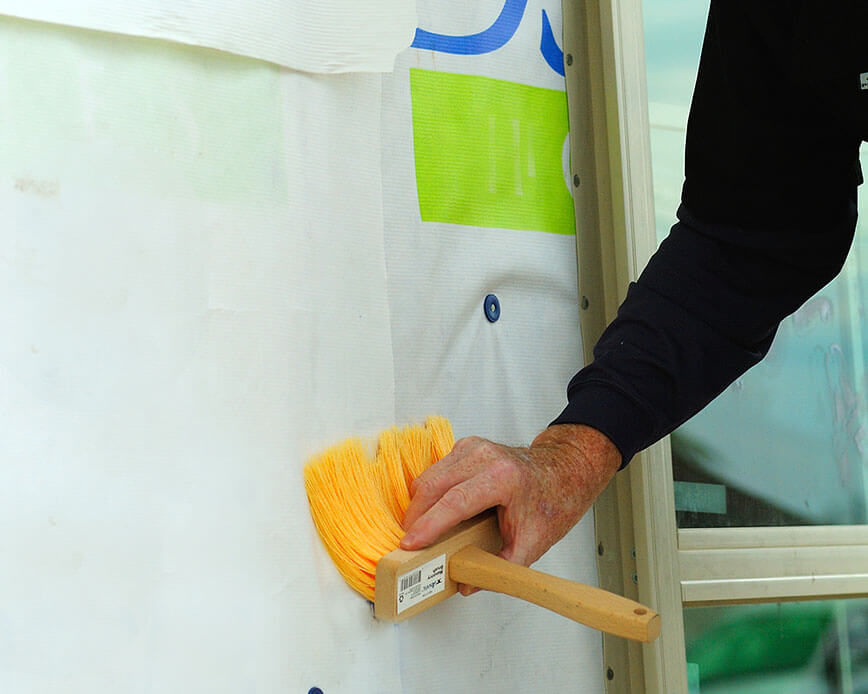
Dust, dirt, and debris will keep any tape from sticking, including seaming tape. Using a wide bristle brush, clean the housewrap from the top down.
Step 2: Seal The Seams with Seaming Tape
One of the biggest, most common issues surrounding any house wrap is improper seaming. Robinson says: “Housewrap without seaming tape is like an umbrella with holes. You’re going to get wet.”
Which is exactly why IBC 1402.2 and IRC R703.1.1 insist that “Other approved materials [i.e. housewrap] … are used as a WRB they shall be installed in accordance with the water-resistive barrier manufacturer’s installation instructions.”
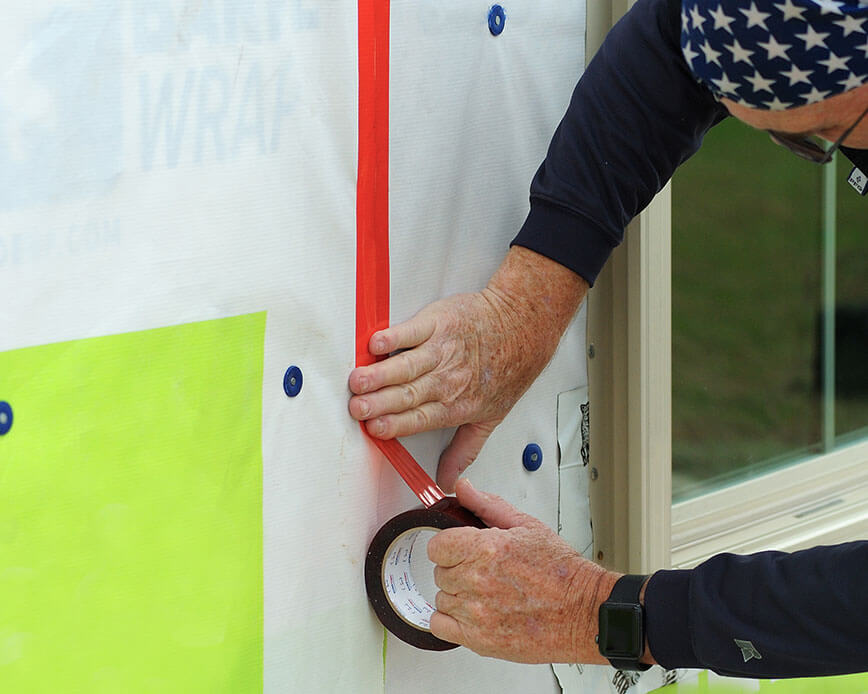
Most housewrap manufacturers require that every house wrap seam — vertical and horizontal — be sealed with tape, ensuring that the tape is wide enough to sufficiently cover the seam.
Robinson reminds us that there is another important consideration when taping a wrapped home, ambient temperature. “Tape applied to house wrap that is too cold or too hot may not adhere properly. Be sure to choose a high-quality seaming tape best suited to the extremes of your climate region.
Here we used PE-M4535, a seaming tape specifically formulated with a proprietary extreme weather adhesive, that can be applied at -4°F to 105°F (-20°C to 40°C), and will adhere -40°F to 148°F (-40°C to 120°C)!
Step 3: Apply Pressure
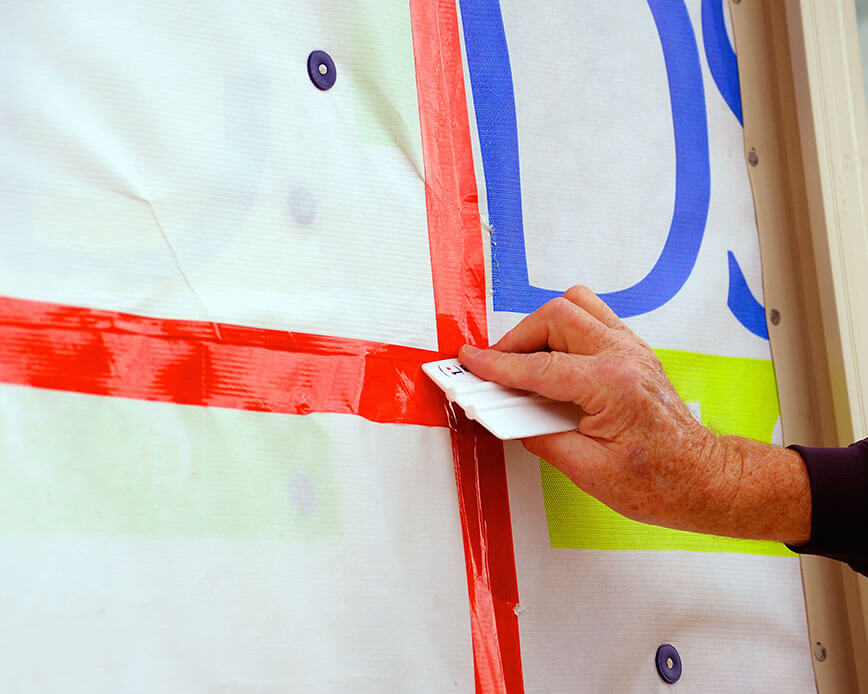
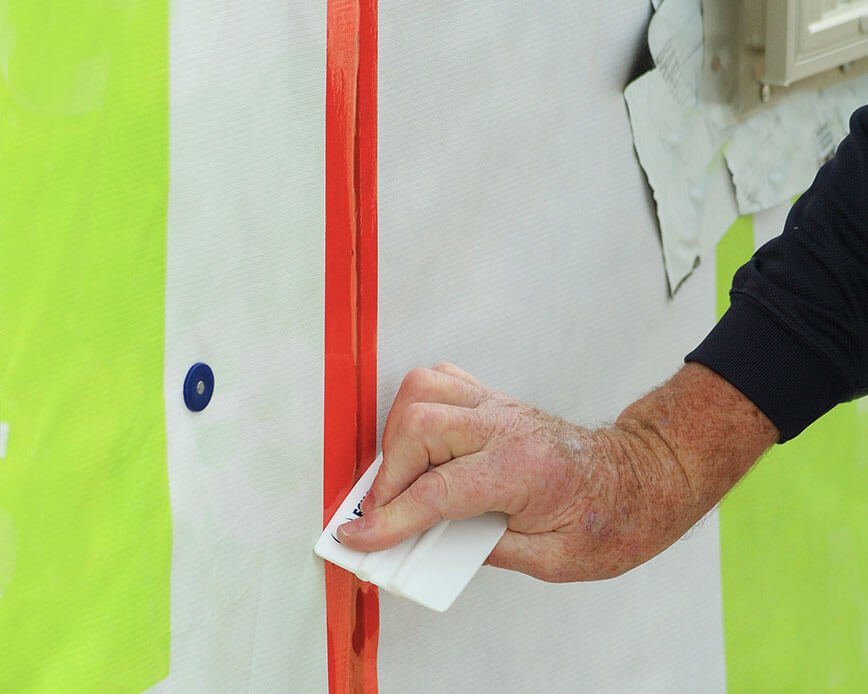
Pressure sensitive adhesive tape needs pressure to form a proper bond. Without it, the tape may gap, wrinkle or lift, all of which will allow unwanted air or water incursions.
Using a squeegee, roller or J-roller, apply firm pressure to the tape in upward and downward strokes, making sure to smooth any wrinkles or gaps. The appropriate amount of pressure will cause the aggressive adhesive on the seam tape to form a permanent bond with the housewrap within 72 hours.
Consider Using a Tape Gun
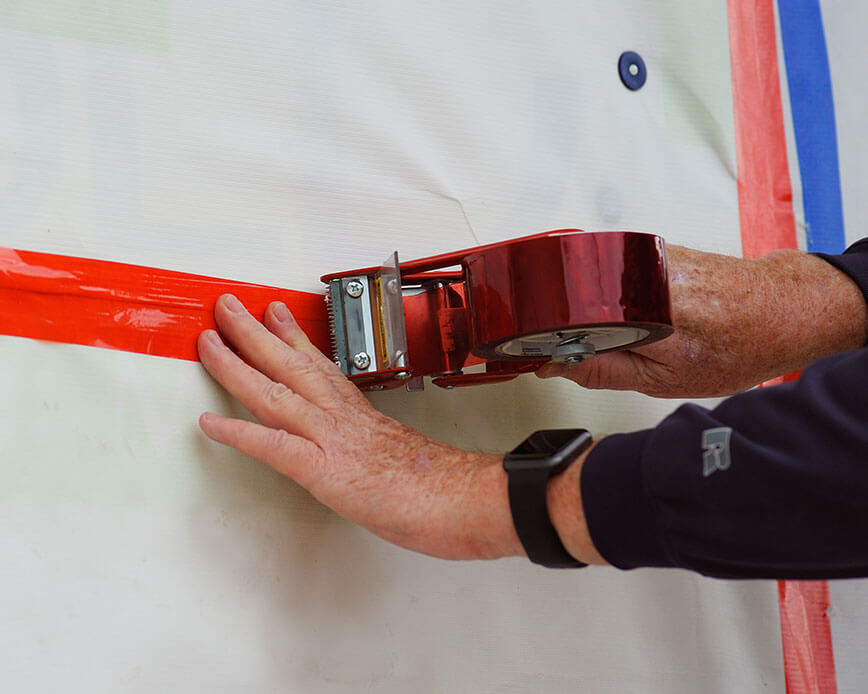
Although many contractors will apply seaming tape by hand, Robinson recommends using a tape gun. “A tape gun allows you to apply seaming tape more easily, quickly and evenly than by hand. Plus, even though ECHOtape’s Seaming Tape tears really easily by hand, a tape gun is just plain faster.”
“Also, don’t make the mistake of thinking that a tape gun replaces a roller or squeegee. It doesn’t. You still need that additional pressure to really seal the overlap. It’s a step most contractors skip, and it’s almost always a costly or even litigious mistake.”
Seaming house wrap is not difficult. Clean. Seal. Apply pressure. Repeat. But for large projects, it can be time-consuming and tedious to do it right the first time. Is it worth it? Absolutely! Seaming tape is critical for creating a weather-resistant seal on the exterior of new construction, so it is vital that the tape properly adheres to the housewrap material.
Keep in mind, not all seaming tapes are created equal. Seaming tape for house wrap should have high shear and holding power to ensure that the tape will hold long-term. It should also have the ability to withstand a wide temperature ranges and humidity levels in order to prevent flagging or failing, and should be hand-tearable for easy application. UV-resistance is another critical characteristic that allows housewrap tapes to withstand sun exposure throughout the duration of the project.
Have more questions? Check out our Field Guide to Housewrap Seaming Tape or call us directly at 800-461-8273. We love solving tape challenges!

