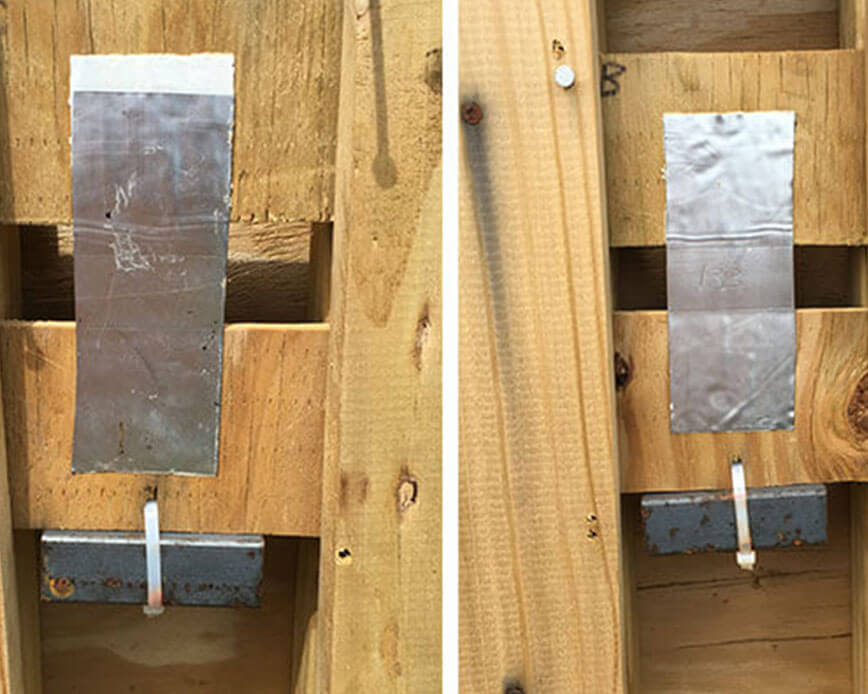
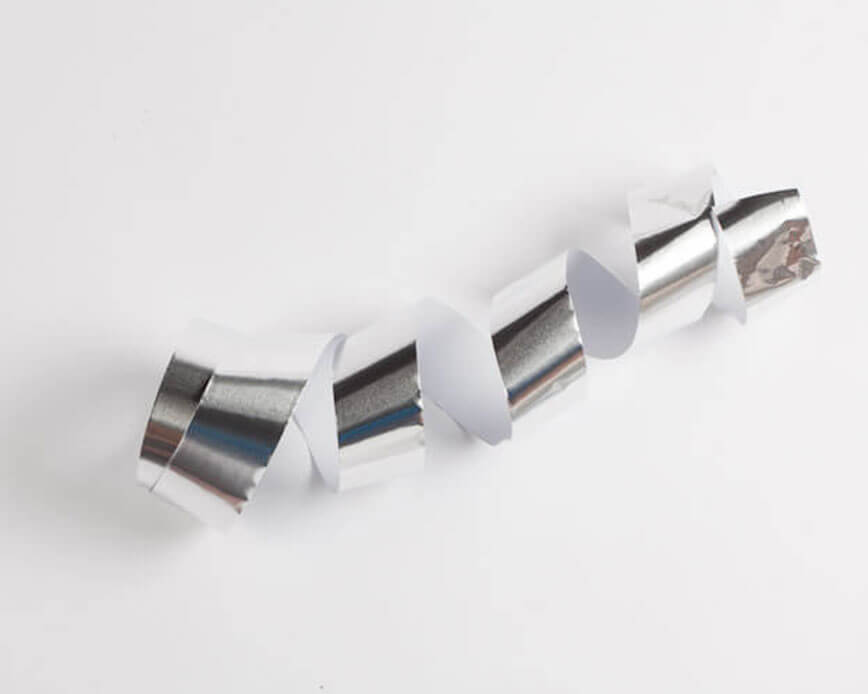
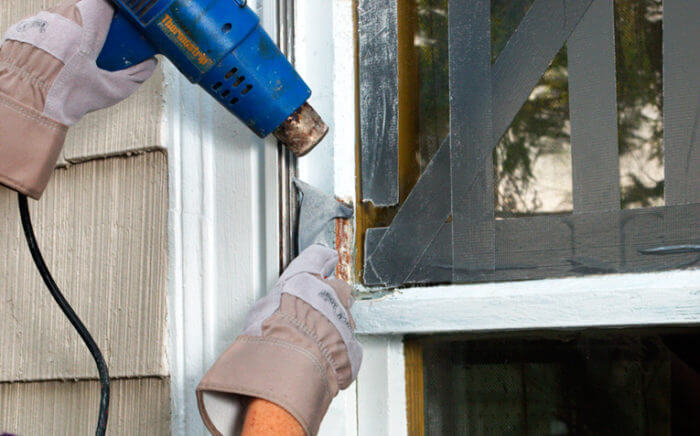
We get this question a lot: How do we actually know that it’s the right tape for the application and that it’s going to last? And that’s totally fair. Almost everyone we know has a tape failure story, but pressure sensitive tape isn’t the same as what you grew up with, or even what you used five years ago. BUT… you don’t have to take our word for it. When a customer comes to us with a challenge, we actually test the tape for them and with them.
 There are two ways we do this: Real-world field testing and lab testing. Ideally, we get to do both, but the bottom line is that the real world test matters most. We explore the most common tape testing variables we use here at ECHOtape in our post, The Complete Technical Guide to Adhesive Tape. Think substate testing, shear strength, tensile force, and UV exposure. All of which are great; we love a good lab analysis report. But… what do you do when you’re on a job site and need to know more about a tape’s properties? Try one, or all, of the following field tests.
Four Quick Tape Tests to Use In The Field
Acrylic or Rubber? Not sure if the tape has an acrylic or rubber adhesive? Try The Sniff Test. A colorless transparent adhesive suggests that it might be an acrylic tape, typically providing good adhesion in extreme temperatures. To check, strip a fresh piece from the roll, put your nose close to the fresh surface and smell it. If it smells a little acrid it could be acrylic. If it smells smoky or like rubber, chances are good that the tape is a natural rubber (or hot melt type, see next paragraph) which offers superior holding power in the 45° to 120°F range.
Hot melt or not? To determine if your tape is made with a hotmelt adhesive, try the “Duck’s Foot” test. Make a little nick in the tape and then very slowly tear the tape and examine what’s happening in the tear itself. Is it separating, or is a web of adhesive like a duck’s foot appearing across the tear? The telltale sign of the duck’s foot tells you that it is most likely a hot melt adhesive tape. (To learn more about adhesives and what they do, visit our Complete Technical Guide to Tape.)
Is the tape still good? Will it stick? If you aren’t sure how old the tape is or where it’s been stored, you should start by checking the adhesive levels. Your best bet is to use a flat, smooth, consistent test surface. We’ve found that glass works well; just make sure the glass is clean and dry and try to conduct this test in “comfortable” temperatures, since cold weather will lead to poor results, even with good tape.
Start by removing two or three layers from the tape you’re testing (to avoid tape that might have been contaminated), and then tear off several inches. Keep your fingers at the ends of the length of tape, lay it on the glass, and smooth it down with your fingers. Next, take a credit card and use it as a squeegee, sliding it toward you over the tape surface two or three times. If you are comparing your roll of tape with another roll, you may want to repeat this with a sample from that roll.
Take one end of the tape and peel it from the glass at right angles, stripping it at about one inch every five seconds. If it holds pretty well, then you know that both the tack (the tape bonding to the glass) and the adhesion (the tape sticking to the glass) are both satisfactory. You can also check the glass surface for any adhesive residue. A good tape will remove cleanly.
How good is my general purpose duct tape? Not all duct tapes are created equal. With hundreds of variations on the market, how do you know you have the right one for your job? Start by looking carefully at the back. Does it have little dimples, or can you see a very strong and distinct cloth pattern? By counting the cloth or dimples, you can determine the weave of cloth being used. Low-end duct tapes can have a count as low as seven yarns per inch along the tape and 18 yarns per inch across the tape. Just like bed sheets, the higher the count, the higher the quality of tape.
Remember: Not all adhesives are created equal, so make sure you consider all the facts related to your job, including the surface, the temperature, ultraviolet light, the type of application you are trying to create, and more.
That said, even after more than 40 years testing tape in real life, and in the lab, we are still learning new things every single day. Part of that is thanks to our customers, who are constantly pushing us to innovate products that meet their needs. Did we answer your questions about testing tape in the field or on the job site? If not, tell us about it and let’s see what happens!


